# Send Message (RWC)
Use this step to send a message to an end user in a specified Rich Web Chat conversation. Step works together with the Wait for Chat (RWC) step template. When step is reached during flow execution, it sends the message to the chosen conversation and proceeds down the next exit without waiting for user’s reply.
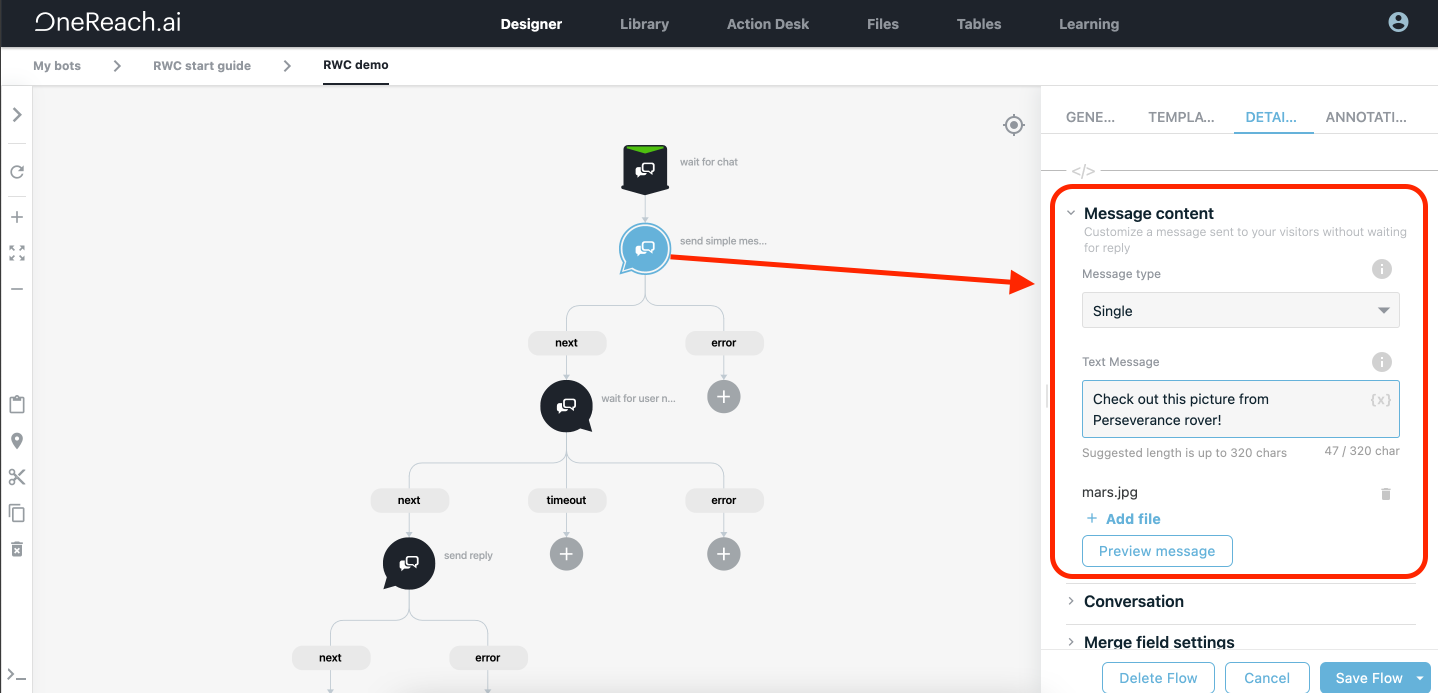
# Message content
The outgoing message should contain a text and/or attachment(s).
The preview message button allows you to see how the user will see the message in the chat.
You can use HTML tags and inline CSS styles to customize text or add images.
# Example
<b>bold text</b>
<a href="URL">link</a>
<div style="display: flex;">
  <img src="link to image" style="width: 50%;">
  <img src="link to image" style="width: 50%;">
</div>
# Add media to message
Attachments (or media) can be chosen either from OneReach.ai’s storage or set as URLs.
| From OneReach.ai’s storage | From URL |
|---|---|
 |  |
When attaching single image (without text message) image will be fully shown in chat. Otherwise attachment will have file-like appearance with small preview.
| Multiple attachments | Single image attachment |
|---|---|
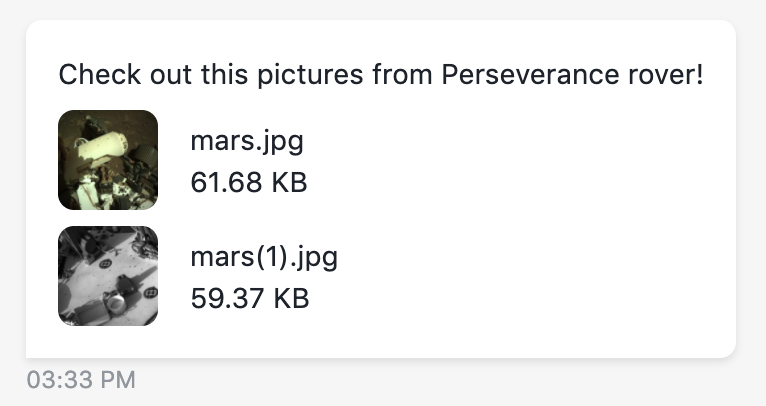 | 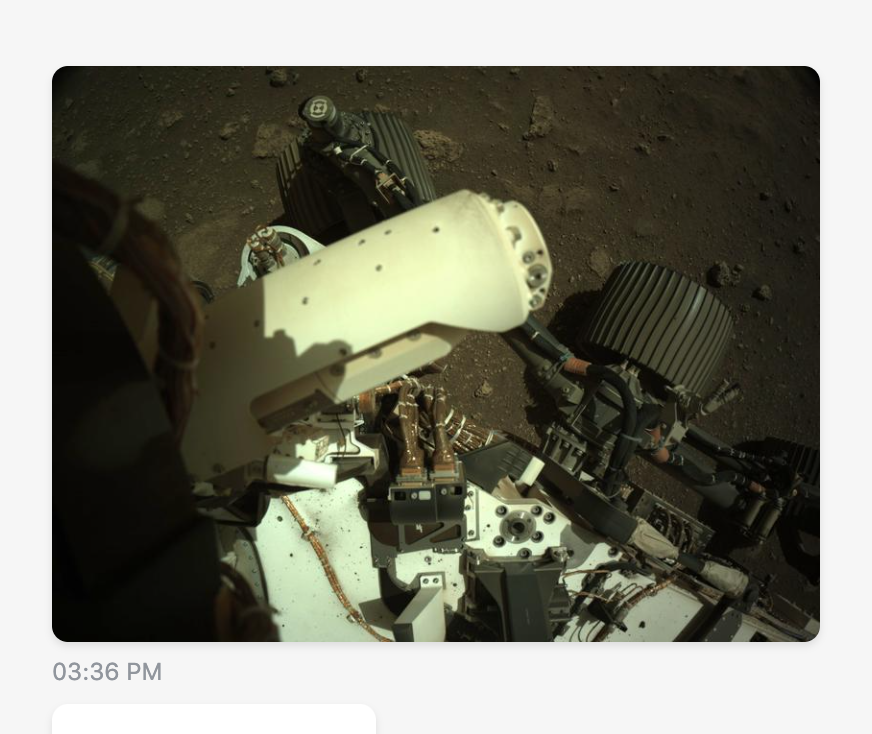 |
# Render attachment as medias or files
There are two options how to display attachments: as medias or as files:
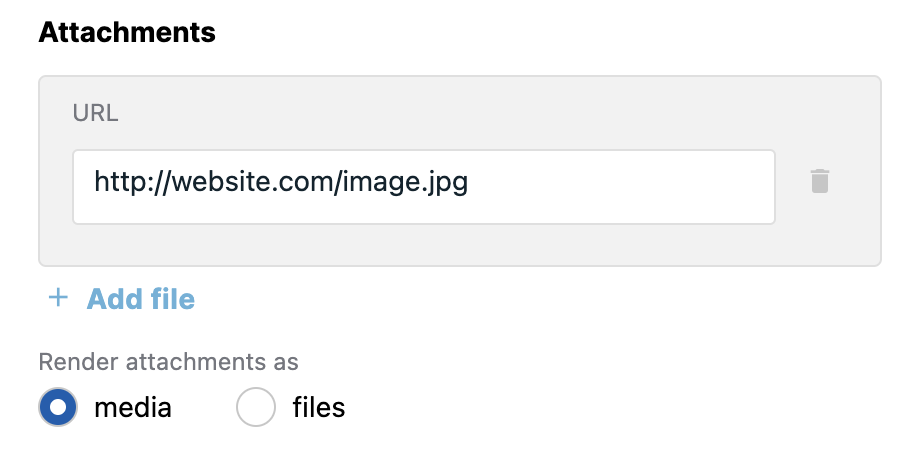
If 'media' option is selected, attachments, that can be parsed as medias - images, videos and audio files, will be joined and transformed. Images in the RWC UI will be wrapped into gallery component with zoom and save options. Video and audio files will be presented as a media player. If it's not possible to parse file as a media file, it will be presented as a default file.
If 'files' option is selected, every file asset will be presented as a file, including images and videos.
# Single message
By default, you can send a single message by defining it via a text and/or media file(s).
# Random message
Sends one message from a list depending on probability. To create multiple messages use add new message option. Each message is defined by a text and/or media, as well as its individual weight. The weight is used to calculate the probability of that message being chosen from the list. It is expected as a positive number with point or comma used for decimals; its range is > 0 and < (2^53-1). If the weights are defined manually, the probabilities of each message being sent are calculated automatically and displayed next to each weight. When step is reached in the flow, it chooses one of the messages randomly and sends it to the end user.

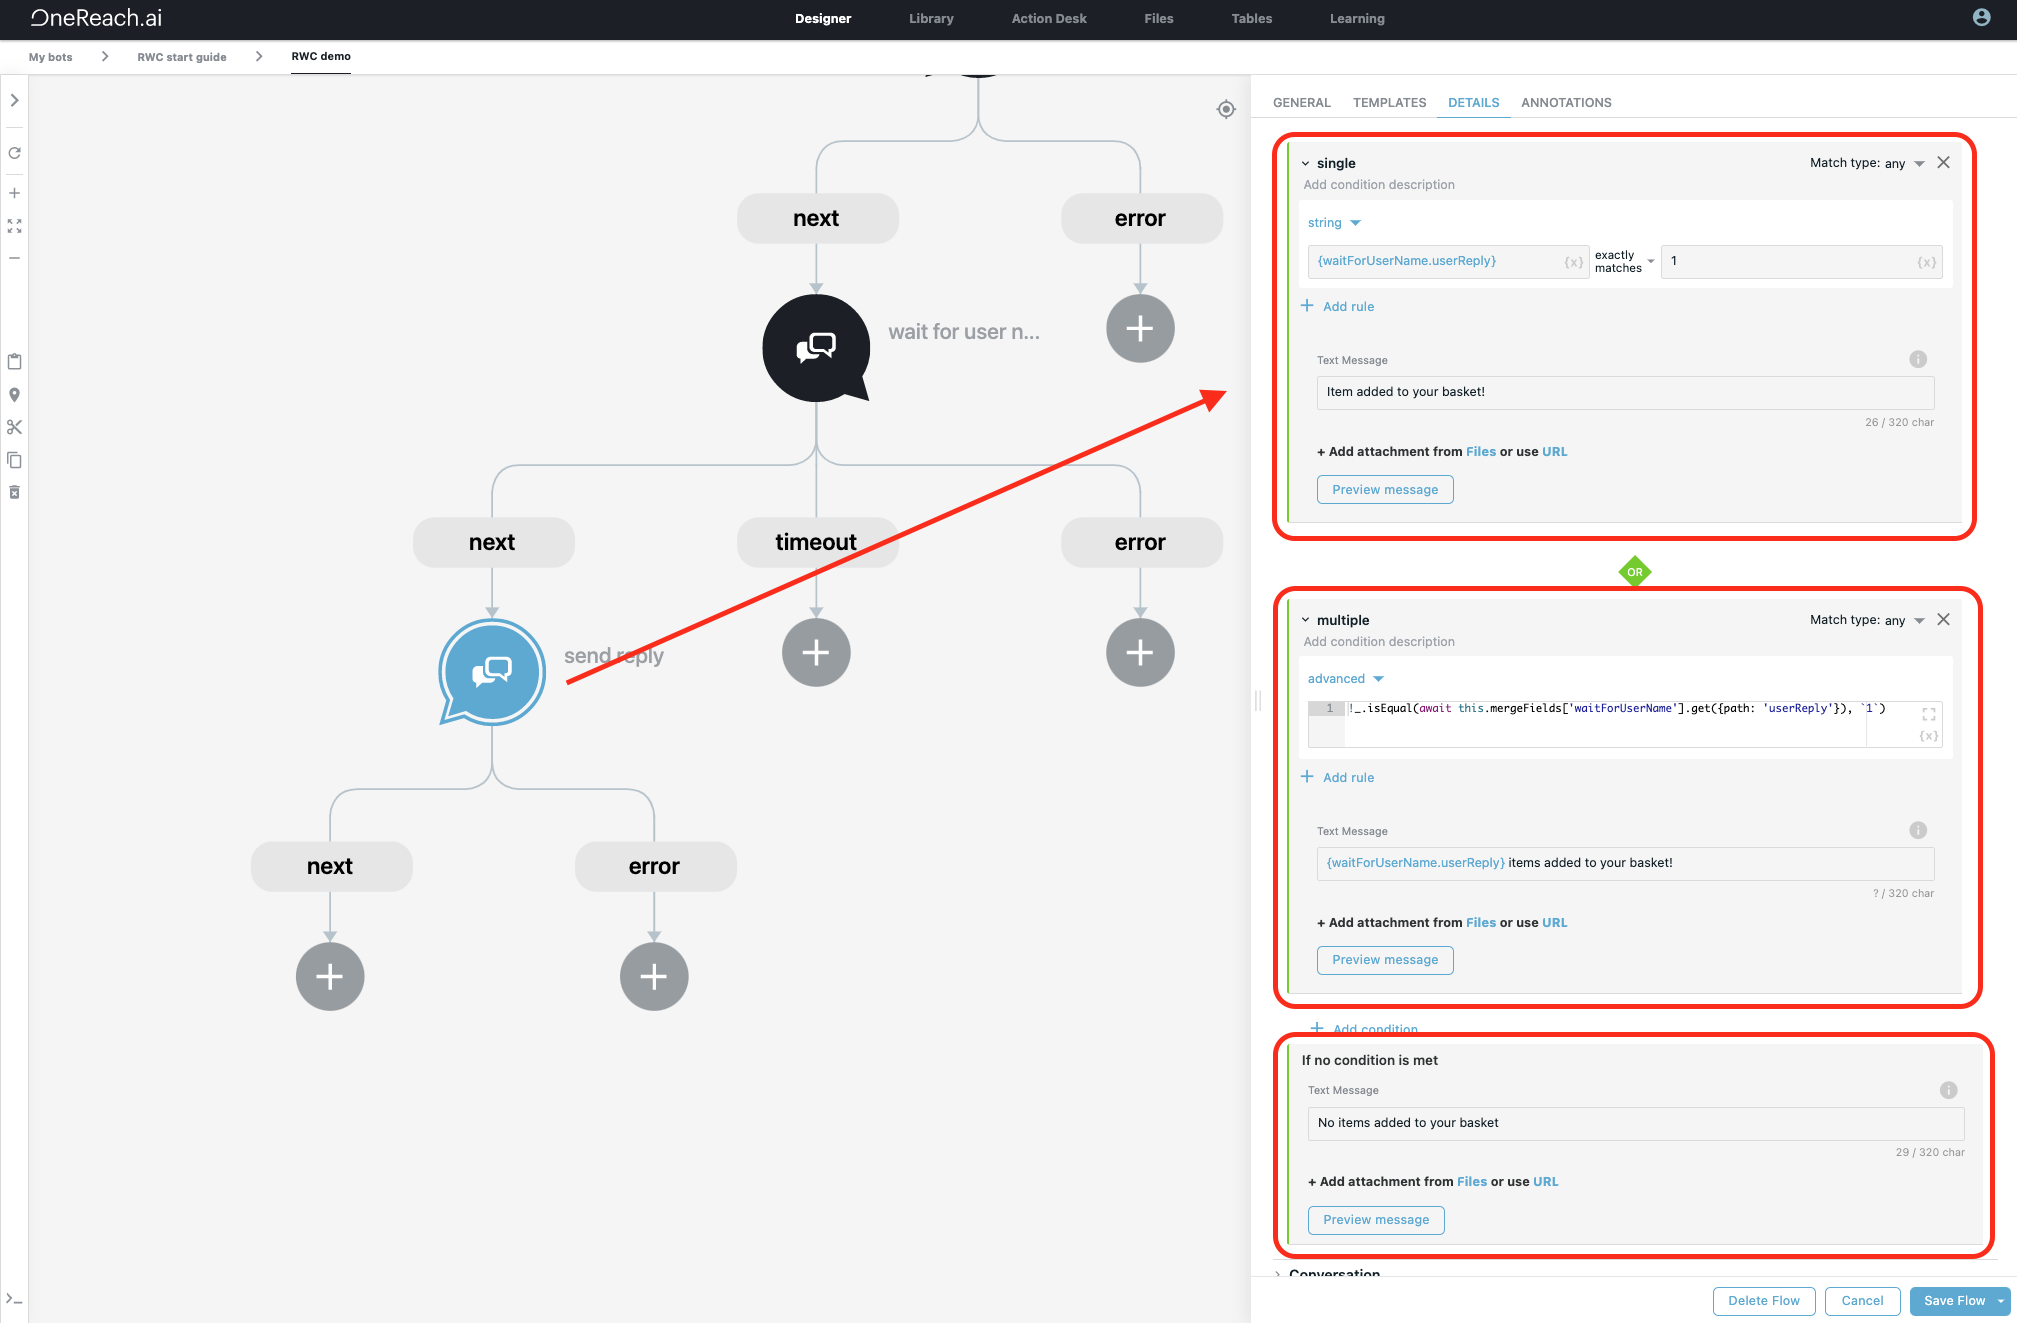
# Conditional message
Condition message option allows to select the outgoing message depending on set conditions. To set up multiple messages use add condition option. Each message is defined by a text and/or media, as well as conditions that should be met for the step to select that message. There is no limit on the number of condition groups, but the step will choose only one during an execution. When step is reached in the flow, each group will be evaluated in order from top to bottom. The flow will select the first group for which the associated rules are met. If none of the rules were met, the step will send the message defined in the If no condition is met section. Additional information about condition builder can be found in the Conditional Selection step under the Info icon.
# Condition groups
Every condition group is defined by the condition rules that must be met for the flow to select that group and the data to output field, in which you specify the output data manually, via merge field values or in code mode in case that group is selected. At least one condition group must be defined.
To add a new group click + Add condition button, to delete one click on X button. You can change the order of your groups using the drag handle.
Each condition rule is validated for the details to be set properly. The condition group edge will be highlighted in red if any data requires correction.
The name of a group is set by default and can be manually changed. The description is empty by default and can be manually added but it is not required and will not affect the flow execution.
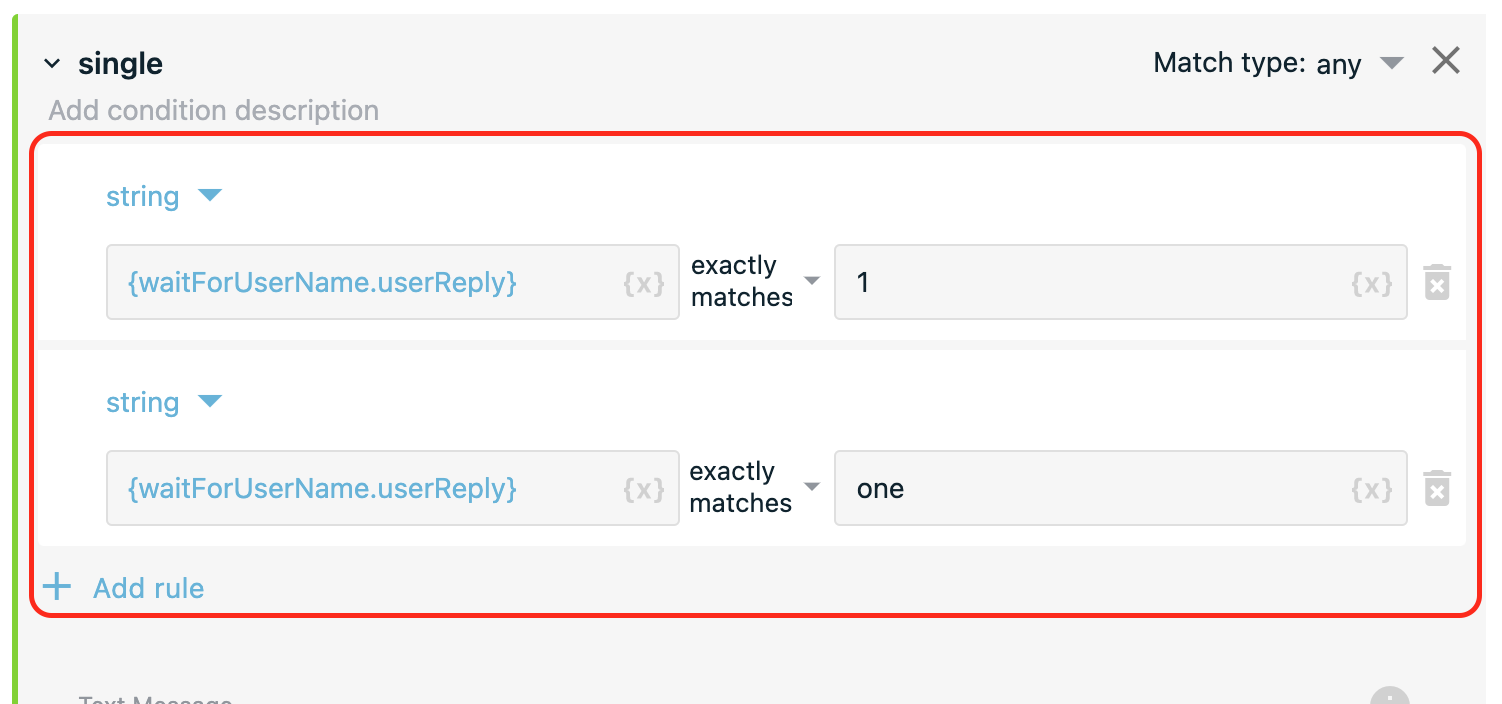
| Valid condition group | Invalid condition group |
|---|---|
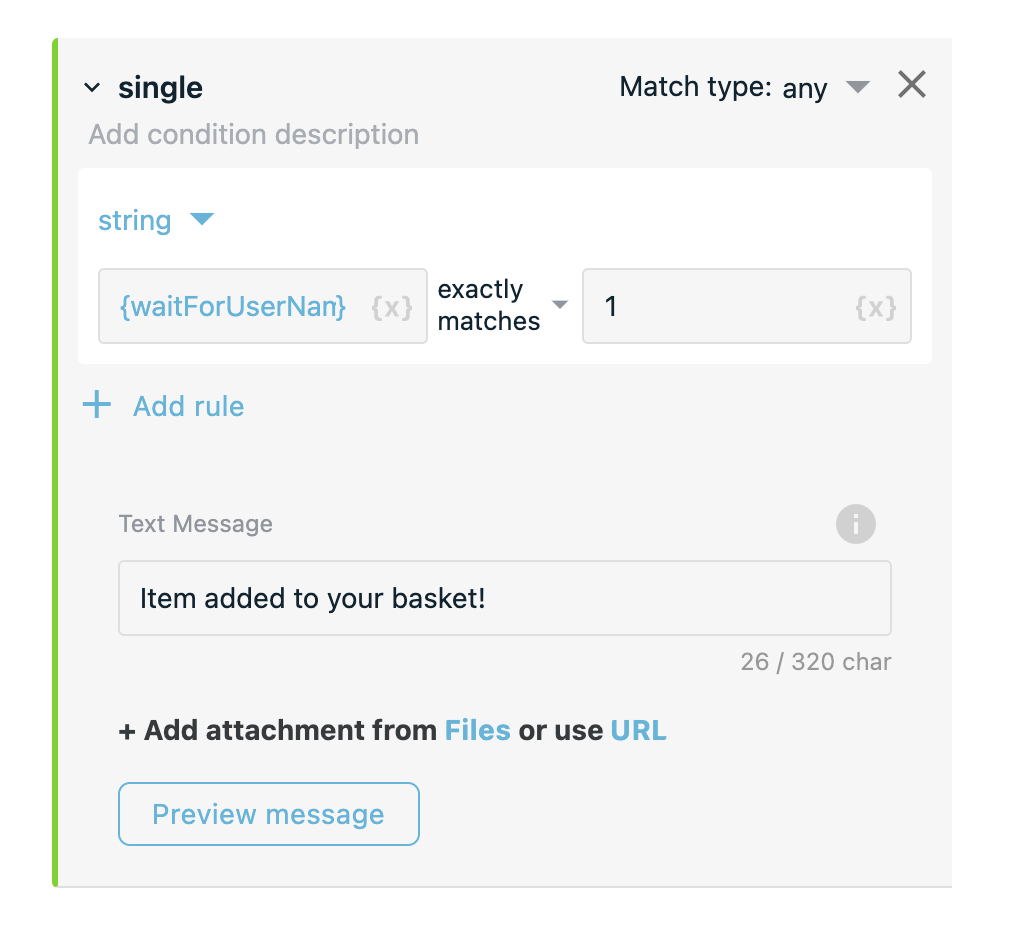 | 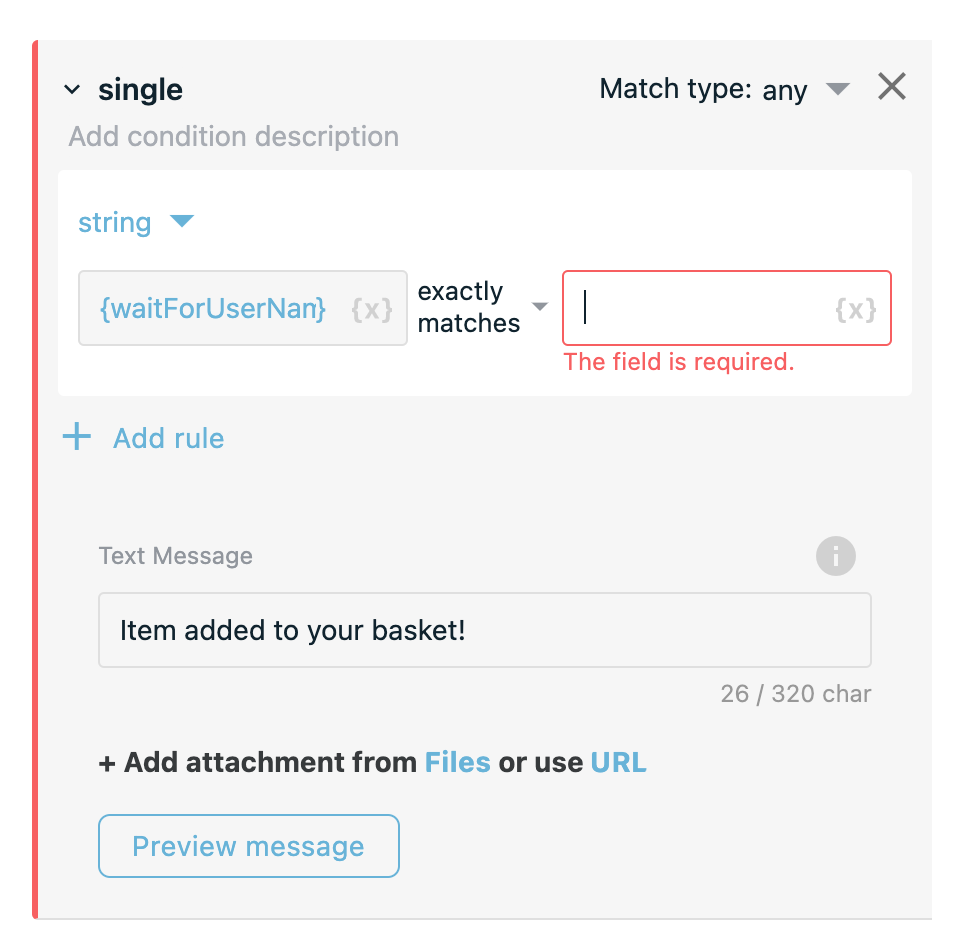 |
# Condition rules
Each rule is created using a data type, input values and a logical operator that is predefined in a dropdown and varies depending on the chosen data type (i.e. “contains”, “starts with”, “>=”, “is empty”, “is exactly same as”, etc.). At least one rule for every condition group must be defined but you can have as many rules as you need. To add a new rule click Add rule button.
You can compare different data types, like string, number, object or array (see example below). Both input fields can be filled in manually or with a merge field value by clicking on the {x} icon. Make sure that the value stored in the merge field matches with the chosen data type. String data is case-insensitive by default but you can change this parameter in Advanced settings.
If you need to apply more complex logic for data validation, choose advanced data type and describe the query as JavaScript expression. Please note that once you switch to advanced or object or array and make any changes to the data, the data will be lost if you select another data type.
# Example of advanced data type
Input value await this.mergeFields['requestResponse'].get({path: 'filePath'}) is exactly same as:
[
  'Link to first file',
  'Link to second file',
  'Link to third file'
]
Advance dat type expression will look like this:
await this.mergeFields['requestResponse'].get({path: 'filePath'}).length > 2
In this case condition will be met and step will send appropriate message if no other conditions were set.
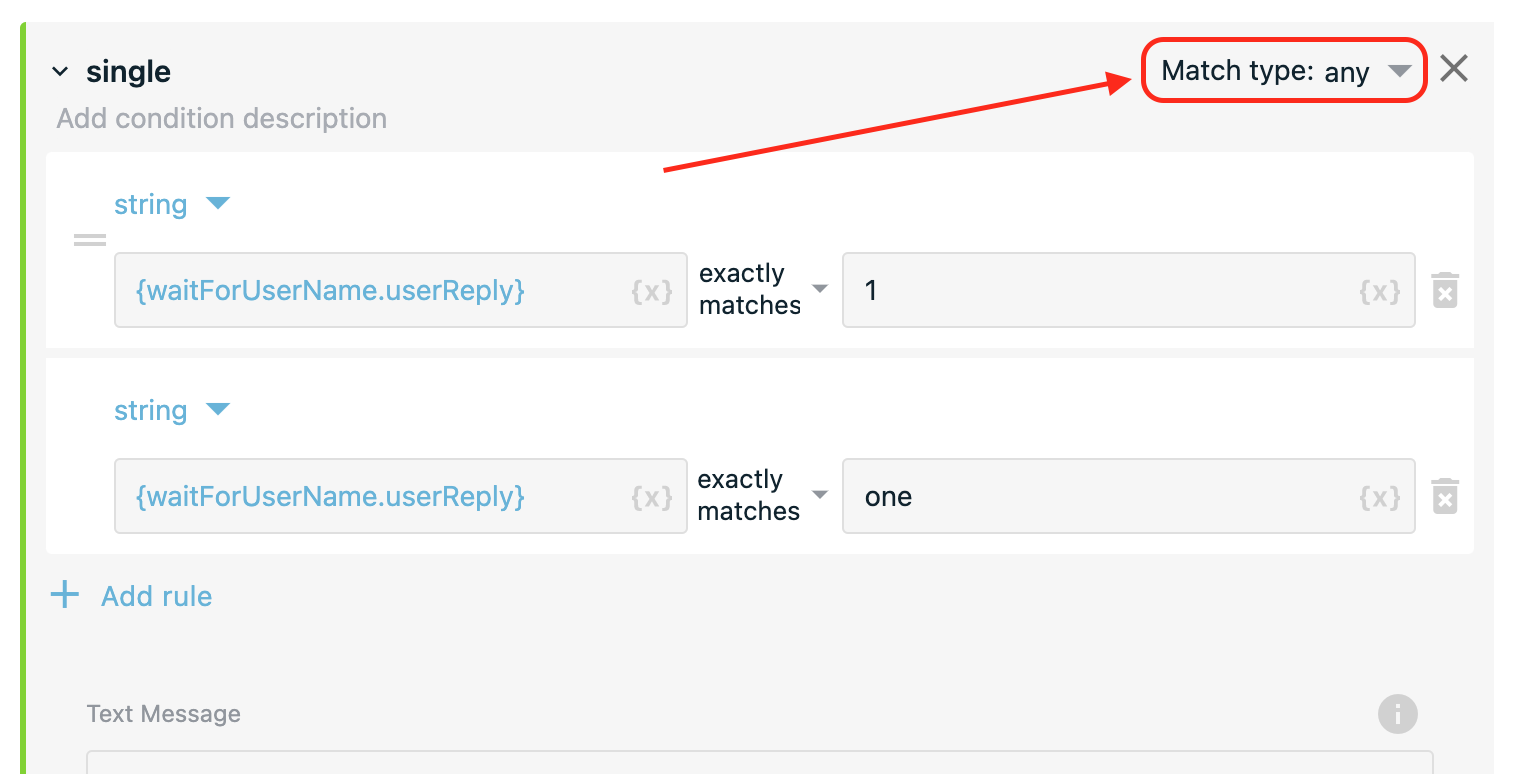
# Match type
By default, all rules in one condition group are set with any match type meaning the flow select this group if at least one rule is met. Choose all if you want exact match with every condition rule.
# Advanced settings
# Allow message reaction (Like/Dislike)
Turn on the toggle to let the chat user leave Like or Dislike reactions to this message as well as additional feedback in case of Dislike.
When the feature is enabled it creates the like and dislike legs for the Step. If the like or dislike leg has any RWC Steps, this leg must end with the Go to a Step in Current Flow or the Return to Main Thread (RWC) Step. If the like or dislike leg does not have any Steps or has non-RWC Steps, no need to add extra Steps to reroute a chat user to the main thread because no RWC message exchange takes place in this like or dislike leg.
Find details at Turn on Like and Dislike user reactions to the message article.
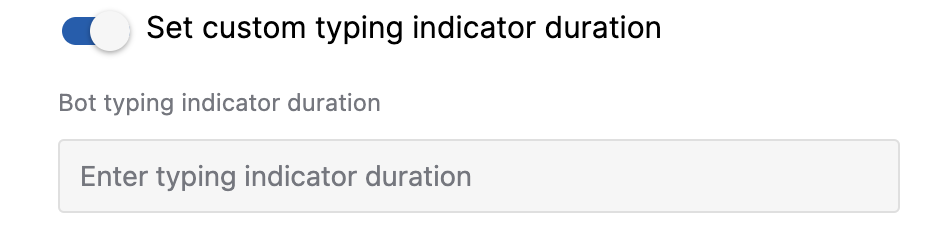
# Set custom typing indicator duration
Use this option to override global bot typing duration set in Wait for Chat (RWC) step. When the toggle is on you can set custom typing indicator duration, and it will be applied only for this message. Duration should be in timestring, e.g. 10s, 3000ms
# Override bot icon
Use this option to change bot icon that has been set globally in Wait for Chat (RWC) step. When the toggle is on you can set custom bot icon, that will be applied only for this message
![]()
# Widget
Widget is a visual component that can be added to the message. Widget is a readonly component, created for displaying information in a nice way, and it doesn't provide any interaction ability to the end user. For now there's only one widget available - Status Tracker.
# Status Tracker
Use this widget to show progress statuses. It allows to add several options with title and description. One of the options could be set as a current status. In order to change status you should send a new Status Tracker widget with updated options. It's not possible to update existing component
![]()
# Conversation
By default, the Step inherits conversation from the previous Step on the Flow tree. To select a different conversation for a Step turn off the Inherit context setting. In the respective dropdowns choose the Bot name from your OneReach.ai account and the name of the Wait for Chat (RWC) Step where the conversation belongs too. As a result, the message will be sent to the selected conversation.
WARNING
Note that the conversation you selected manually for this Step will be automatically inherited by the next Step. If you do not intend it, change the settings of the Conversation section in the next Step in the Flow.
TIP
If you move or clone the Flow that has a Step with a manually selected conversation to another Bot or OneReach.ai account, re-set Bot and Conversation values for the Step because the Bot ID and the conversation ID will be different.
# Merge field settings
The output data of the step will be stored under the name provided in merge field name. It includes the unique identifier of the sent message and may be used by advanced users.
# Error handling
Process error is on by default and adds an error exit to the step. The flow will proceed down this exit it if any error was encountered during the execution of the step (e.g. if the chosen conversation no longer exists).
# Reporting events
Step and Transcript events are reported once the flow exits the step. They collect the data which can be used further in reports. You can specify tags to organize the collected data.